This Pabna duplex house design walkthrough follows the project from its initial idea through massing and entrance to a sequence of exterior views.
From concept to exterior views
The Pabna project is presented through evolving exterior views. The walkthrough links the design idea, primary mass, entrance and final perspectives so the sequence—not a single render—does the explaining.
- Start with the primary volume and entrance before evaluating smaller façade details.
- Use front, side and top views to test whether proportion and depth remain consistent.
- Keep the final visualization aligned with the architectural decisions being communicated.
Starting with the design idea
A residential exterior becomes easier to develop when the main idea is established before individual decorative elements are added. The first task is to understand the character of the house, its main volume, the entrance and the way the upper and lower levels should read together.
Developing the main mass
The Pabna project can be read through a primary building volume supported by secondary elements such as the entrance, projections, roof forms and side extensions visible in the image set. Establishing this hierarchy first helps the exterior remain understandable from different viewpoints.
Working from the front view
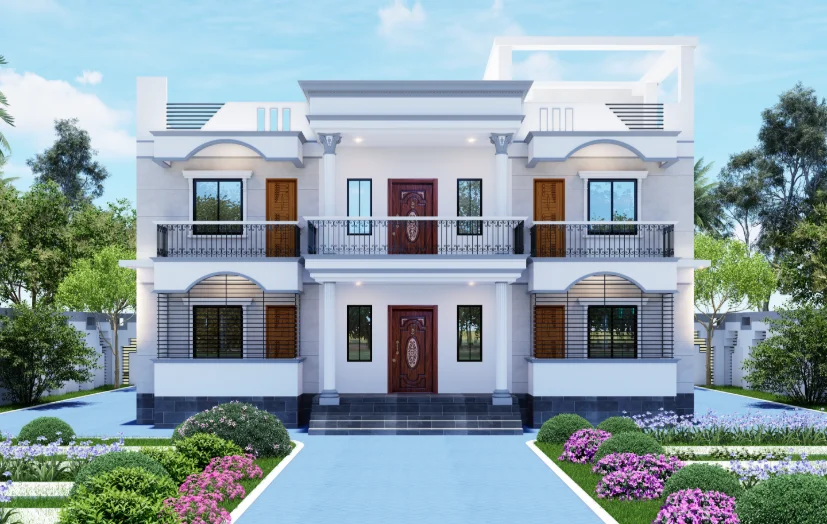
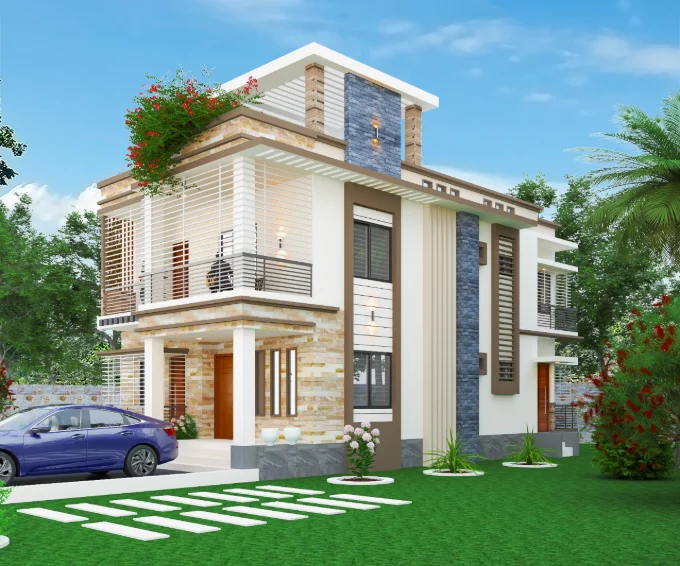
The front view usually carries the clearest public identity of a residence. It establishes the entrance, the main openings and the relationship between the two levels. In the Pabna project, the front image provides the starting point for understanding the overall composition before moving to the side and top views.
Testing the design from different angles
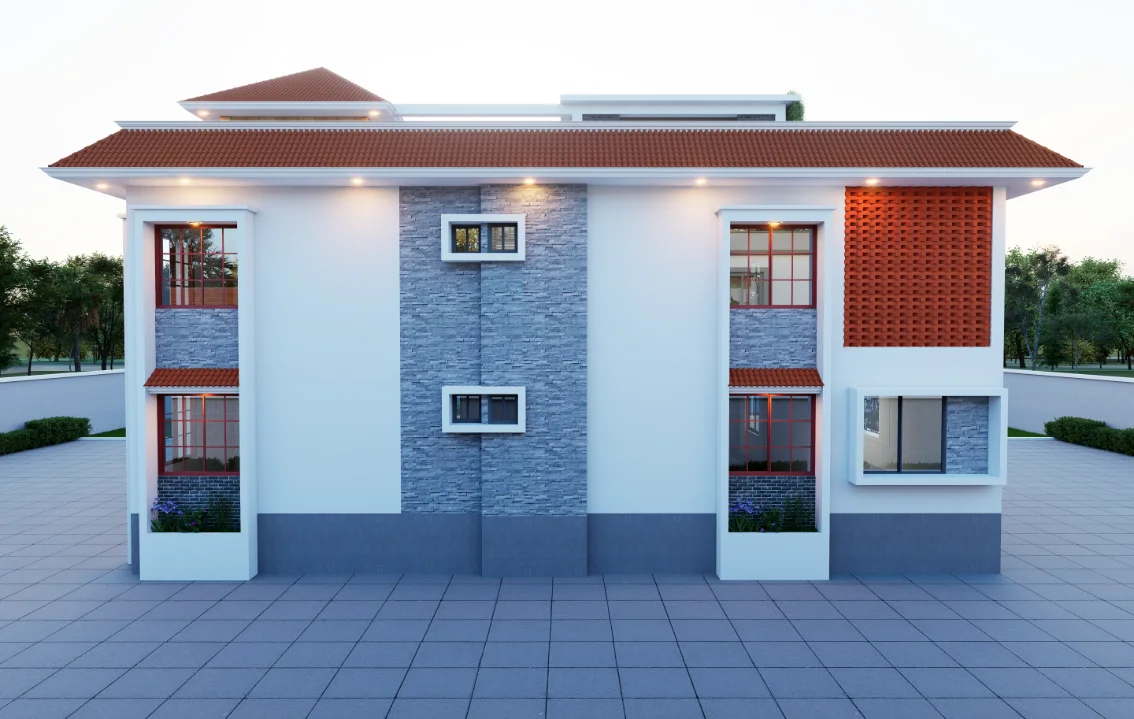
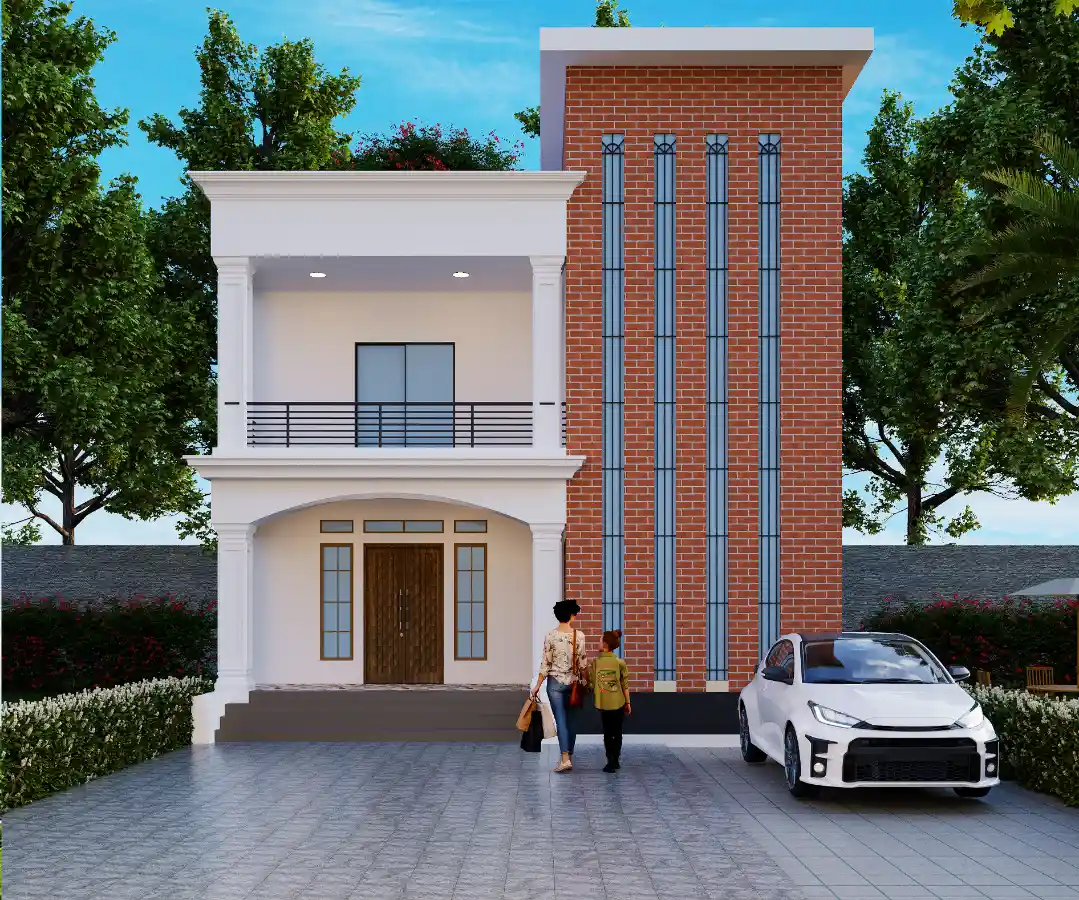
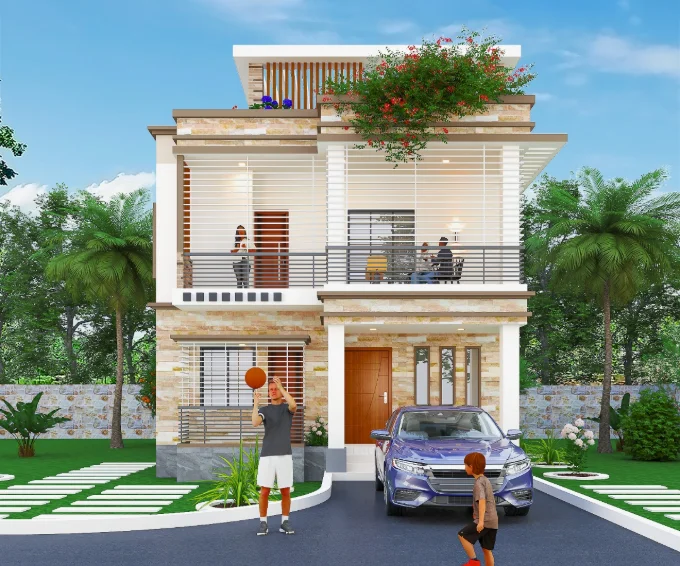
A design that works from one perspective still needs to be checked from other sides. The Pabna image archive includes left, right and top views, making it possible to review how the roof line, projections, openings and overall mass continue around the building.
Developing the entrance and threshold
The entrance is both a functional point of arrival and an important part of the exterior composition. Its position, surrounding canopy or porch elements and relationship with the main façade influence how the house is approached and understood.
From model to visual presentation
3D visualization helps communicate design decisions before they are experienced as a completed building. A useful presentation should make the main mass, openings, roof elements and entrance legible without depending on excessive visual effects.
Using multiple views as a design check
The value of a project walkthrough is not only in showing attractive images. Multiple views allow the designer and client to ask whether the same design language continues around the residence and whether secondary elements remain consistent from one view to another.
What the Pabna project demonstrates
The Pabna Duplex Residence shows why exterior design is better understood as a connected set of decisions rather than a single façade treatment. Massing, entrance, openings, roof form and presentation work together to create a coherent residential identity.
Keeping concept and presentation aligned
A project walkthrough is strongest when the visual presentation still reflects the original architectural idea. If the concept is based on a clear main volume and a controlled entrance, later visualization should reinforce those relationships instead of introducing visual elements that are not part of the design.
Reviewing the model before final images
Before a final exterior view is prepared, it is useful to review the model from several camera positions. This helps check whether façade lines, roof elements, openings and projections remain coherent and whether the selected camera actually explains the design.
Why the sequence matters
The order in which a project is presented also affects understanding. A wide establishing view can introduce the residence, followed by closer views that explain the entrance and façade, and then side or top views that provide additional context. This sequence lets the viewer understand the design before focusing on individual details.
Setting a review sequence
A useful project walkthrough should follow a clear review sequence rather than present views in random order. Start with the main exterior view to establish identity, move to side views to test depth and then use a top view to understand the relationship between roof elements and the overall footprint. This sequence helps a client or reviewer understand how one design decision continues across the building instead of treating each render as a separate image.
Checking proportion across views
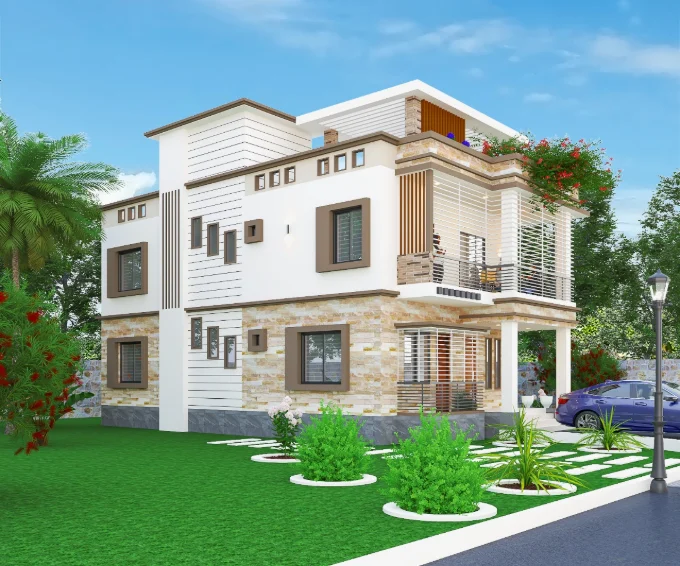
Proportion becomes easier to judge when the same building is seen from different positions. A front elevation can make a projection appear balanced while a side view may reveal excessive depth or an unresolved transition. The Pabna image set supports this type of comparison because front, left, right and top views describe the same residence from different angles. That makes the visual review more reliable than relying on one hero image.
Connecting visualization to design review
Architectural visualization is most useful when it remains connected to design development. Materials, openings, roof edges, canopies and landscape elements should be reviewed as design information, not only as presentation effects. When a rendered view reveals a weak proportion or awkward junction, the correct response is to revisit the design rather than hide the issue through lighting or camera choice.
Preparing a project for client communication
A portfolio-quality walkthrough should also be easy for a non-designer to follow. Each image should answer a different question: what is the building, how does it sit in space, how do its sides resolve, and how does the roof or upper form complete the composition? A controlled sequence gives the client enough information to understand the project without overwhelming them with repetitive views.
Choosing views that explain change
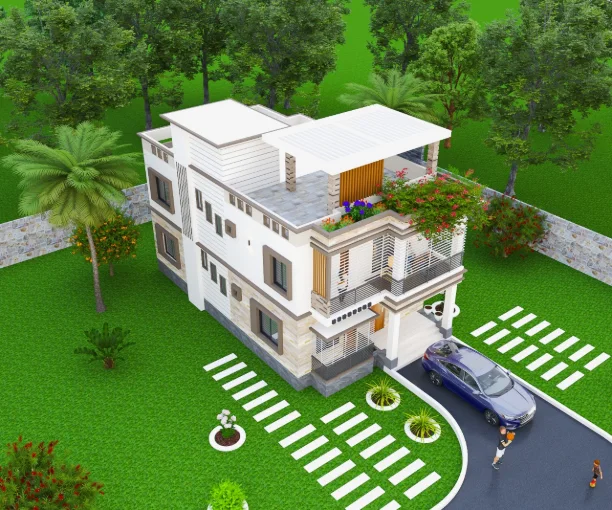
Different viewpoints should do different jobs. The front view establishes the primary identity, side views explain depth and setbacks, and a top view clarifies roof geometry and the relationship between major volumes. Repeating nearly identical cameras adds visual weight without adding much information. A stronger portfolio sequence therefore selects views according to what each one reveals about the design.
From review to final presentation
Before publishing a project walkthrough, check that image sequence, captions and written explanation tell the same story. If the text discusses massing but the selected image hides it, the communication becomes weaker. The Pabna residence is better presented when each view supports one stage of the reading process: overall form, side relationships, entrance, roof and final architectural character.
Check transitions between major forms
Strong exterior design is often decided at transitions: where a canopy meets the main volume, where a projection returns to a wall, or where the upper floor meets the roof. These junctions can look acceptable from one camera and awkward from another. Reviewing side and top views helps identify whether the geometry remains coherent beyond the main façade.
Use the model to test alternatives
A digital model makes it possible to compare massing, openings and roof elements before final visualization. The important step is not producing many versions, but testing specific questions: does the entrance have enough emphasis, does the upper volume feel too heavy, and does the side elevation retain the same hierarchy? Focused iterations produce clearer decisions.
Final review checklist
Before a project walkthrough is treated as complete, confirm that major forms are consistent across views, image captions describe what is shown, and the written explanation matches the documented project. This keeps the portfolio record credible and makes the walkthrough useful as both a design narrative and a professional presentation.
Keep camera choice honest
Camera position affects how a building is perceived. A wide lens can exaggerate depth while a high or low viewpoint can change the apparent proportion of levels. For a professional portfolio, camera choices should communicate the architecture rather than create a misleading sense of scale. Comparing several views helps keep the presentation grounded in the actual model.
Document decisions, not only results
The strongest walkthrough explains why the final composition looks the way it does. Notes about massing, entrance, roof form, openings and viewpoint selection turn a collection of renders into a design record. This is especially useful when the portfolio is intended for clients who want to understand process as well as visual quality.
Use captions as part of the record
A concise caption can identify view direction, design purpose or the element being reviewed. This improves accessibility and also prevents images from becoming context-free portfolio decoration. For the Pabna walkthrough, captions can distinguish front, side and top views so the sequence remains understandable even when individual images are shared outside the full article.
A CLOSER LOOK
Read the project through its decisions
Pabna Duplex Residence provides a practical visual reference for connecting design intent, spatial decisions and exterior presentation. The project views are most useful when read together rather than as isolated images.