This residential design process in Bangladesh article links a project brief to zoning, floor planning, circulation, openings and exterior coordination.
From the brief to the floor plan
The page presents a residential design sequence: understand the brief, organize spaces, test the floor plan, and coordinate openings and exterior presentation.
- Separate essential requirements from flexible decisions before fixing the plan.
- Test public, private and service zones through actual circulation paths.
- Coordinate openings and exterior form with the rooms, structure and site conditions behind them.
Begin with the brief
Start by recording who will use the home, which rooms they need, how they move through the day, and what must not change. For a residential design in Bangladesh, also note site access, privacy expectations, and climate-related needs before choosing a facade direction.
Translate requirements into spaces
Turn each requirement into a relationship: which rooms should connect, which need separation, and which need convenient access. A simple adjacency list or bubble diagram can expose conflicts before detailed dimensions make revisions costly.
Build a clear zoning strategy
Group spaces by use rather than by appearance. Shared rooms, private bedrooms, and service areas can be arranged to support household routines, while the exact location of each zone should respond to the plot, entry, and family priorities.
Develop the floor plan before the façade
Test the plan with furniture, door swings, circulation paths, and stair position while the layout is still flexible. If rooms work only as empty rectangles, the plan needs more development before its exterior proportions can be judged.
Use the exterior to express the plan
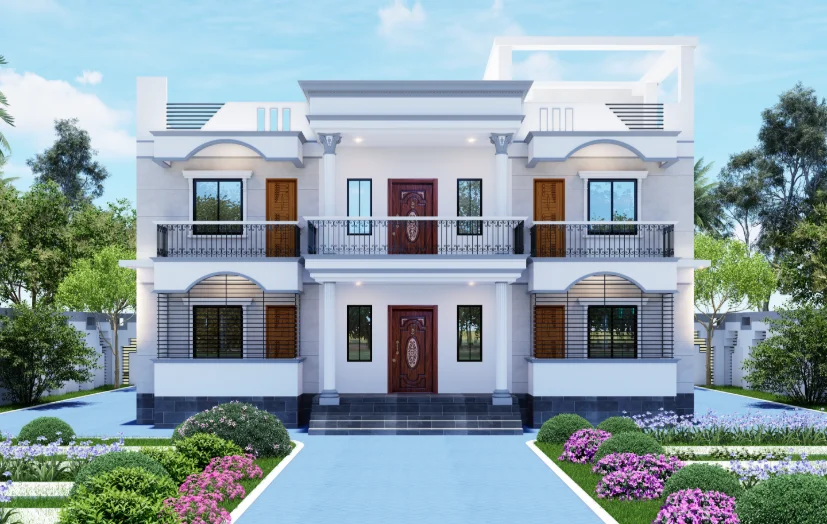
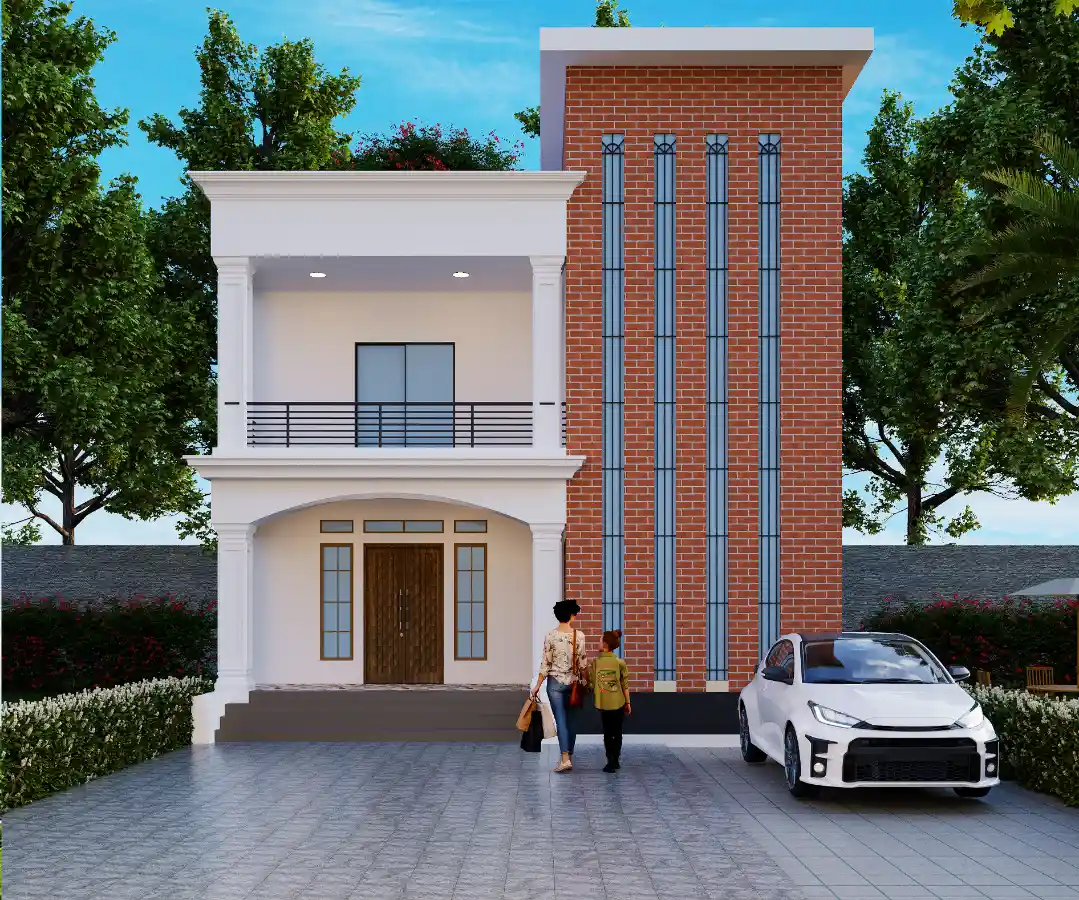
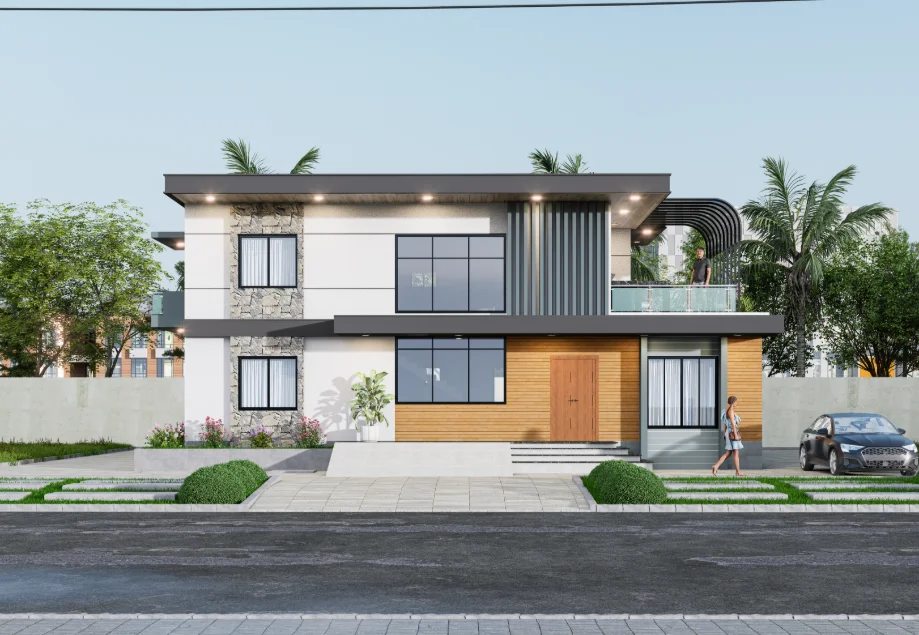
Once the room arrangement is stable, let openings, solid wall areas, and projections respond to the spaces behind them. This keeps a house design grounded in use and helps the elevation read as part of the building rather than a separate graphic exercise.
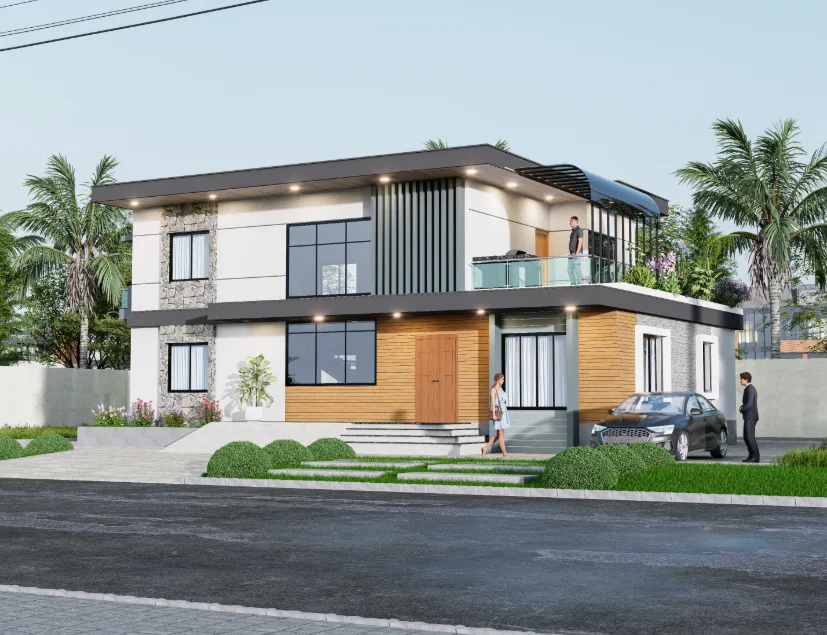
Check the design from several sides
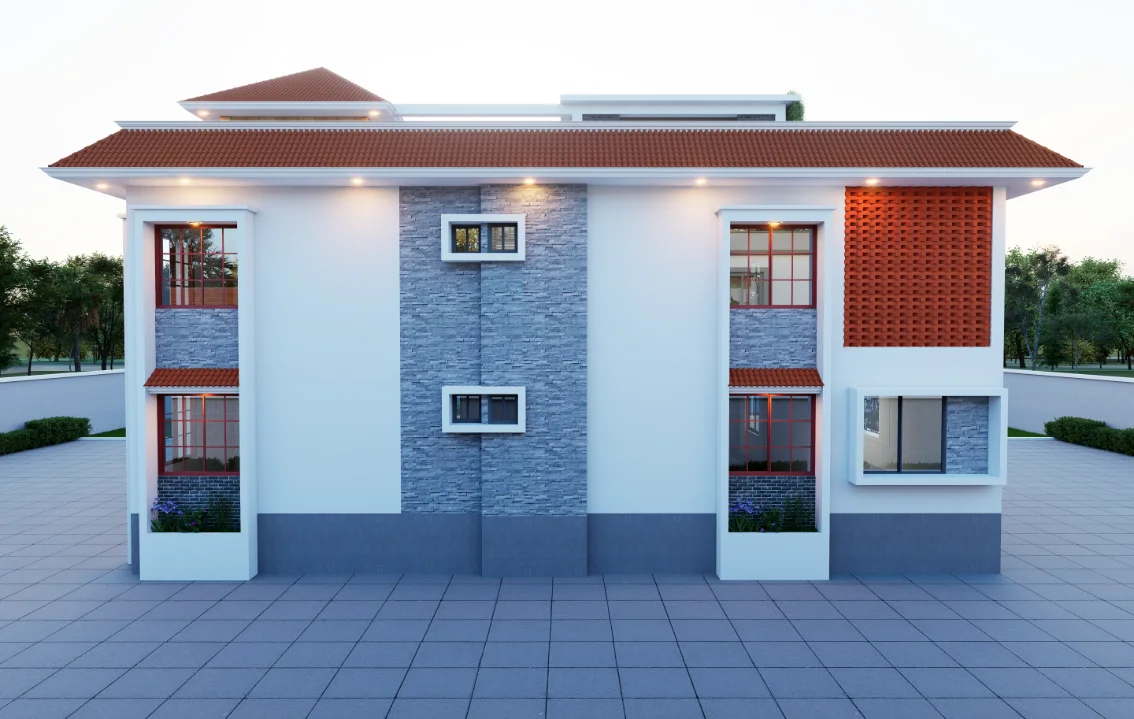
Review the proposal from the street, the side boundaries, and above where those views are available. Each angle raises a different question about access, privacy, depth, or roof form; together they reveal issues that a single attractive perspective can conceal.
Coordinate before presentation
Before preparing final visuals, compare the latest plans, elevations, and sections. Check that room positions align with openings, floor levels remain consistent, and stairs and service routes have been considered across the drawings.
Present the design clearly
Choose a small set of drawings that answer the client's main questions: how the rooms connect, how the building meets the site, and what the exterior will look like. Label each view so people can understand its purpose without relying on presentation effects.
A process that stays connected
The stages are related, not strictly one-way. A change in the brief can alter the plan; a plan adjustment can affect the elevation; and a review of the elevation can expose a planning conflict. Keep those links visible during each design discussion.
Think about circulation early
Sketch the routes from the entrance to shared rooms, bedrooms, stairs, and service spaces. Look for awkward crossings and paths that pass through private areas. In a duplex, test how movement between levels supports the household's chosen pattern of use.
Allow the plan to inform openings
Place windows and doors with the room layout in view. Consider daylight, ventilation, privacy, furniture, and the direction of important views together, then coordinate the opening pattern with the elevation rather than placing openings for visual rhythm alone.
Review decisions before they multiply
When a major room, stair, or opening moves, pause to check what else changes. A short review at this point can catch knock-on effects in circulation, furniture placement, and the exterior before they are repeated across drawings and presentation images.
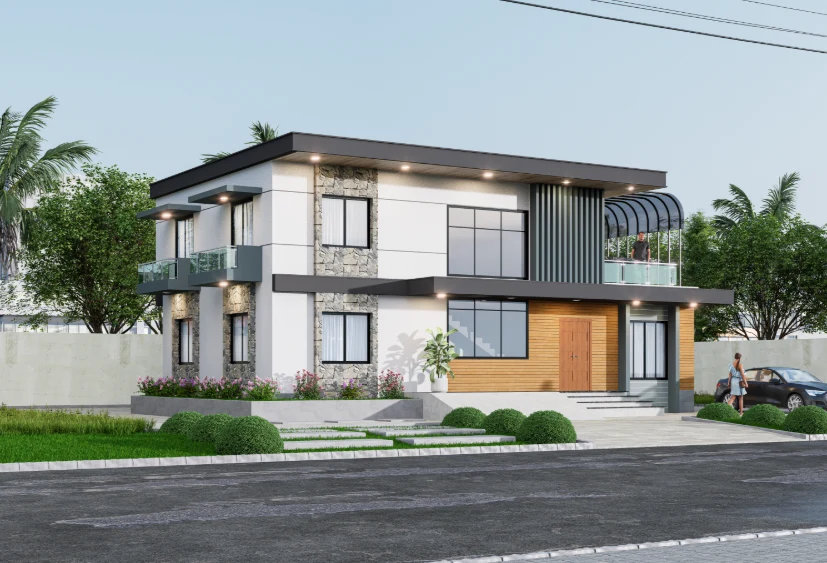
Test the brief against the plan
Make a simple review list from the agreed requirements and point to where each one is addressed in the plan. If a priority has no clear spatial response, revisit the layout or clarify the brief instead of assuming the issue will resolve during detailing.
Use circulation as a planning test
Trace a first-time visitor's route from the gate or site entry to the front door, then trace household movement between shared and private rooms. The paths should be legible on the drawing and should not depend on unexplained shortcuts through other spaces.
Coordinate openings with rooms
Check each significant opening against the room's use, likely furniture positions, and privacy needs. On the elevation, review the resulting proportions and spacing; on the plan, confirm the opening still serves the intended room and its connections.
Review the whole building before final presentation
Use plan, elevation, and section as a coordinated set rather than separate illustrations. They should describe the same arrangement of rooms, levels, roof, and openings. Where project views are only visual references, avoid treating them as measured construction documentation.
Use presentation as a final coordination test
A rendering is useful for checking whether a design reads clearly from a chosen viewpoint, but it cannot verify dimensions or technical performance. Compare it with the drawings and resolve any visible inconsistency before presenting the proposal as coordinated.
Keep design decisions traceable
Record the reason for major choices and note which drawing or brief requirement they answer. A concise decision log makes later discussions easier: the team can see what changed, why it changed, and which related drawings need another review.
Separate fixed requirements from flexible decisions
Identify constraints that need confirmation, such as site limits, access, structural input, or service locations, and distinguish them from choices that remain open, including many finish and presentation decisions. Confirm technical constraints with the relevant project professionals.
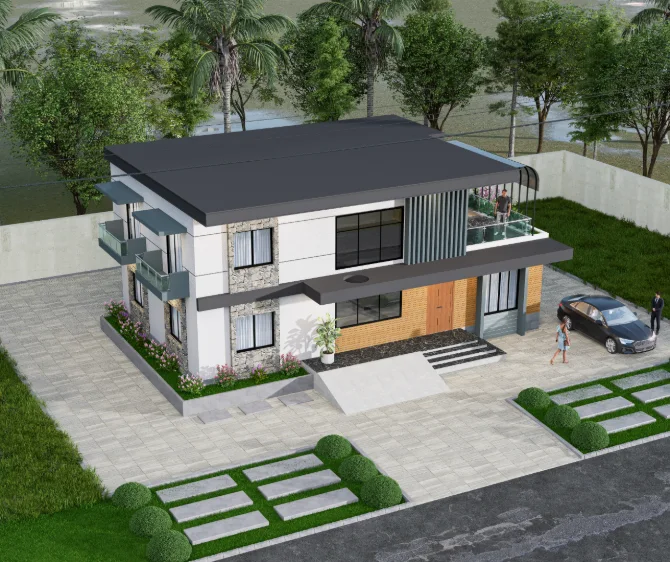
Review plan, elevation and section together
A plan explains horizontal relationships, an elevation shows the outer face, and a section reveals vertical connections. Comparing all three helps test whether stairs, floor heights, roof form, and openings describe one consistent design.
A repeatable process
A practical sequence is to clarify needs, map site conditions, test room relationships, plan circulation, coordinate openings, develop the building form, and review the drawings together. Revisit earlier steps when new information changes a decision.
Design for later coordination
Leave clear information for the next design stage: stable room relationships, identified openings, current levels, and decisions that still need confirmation. This makes revisions easier to coordinate without presenting unresolved details as settled facts.
From planning to architectural identity
Architectural character can grow from the plan through proportion, repetition, material choices, and the relationship between solid and open areas. Use those elements selectively so the home's identity supports its layout instead of obscuring it.
Communicate the process clearly
Explain the sequence in plain language and pair each design decision with the drawing or view that makes it understandable. This helps clients compare alternatives and give feedback on the actual planning choices rather than only on image style.
A CLOSER LOOK
Read the project through its decisions
A residential design becomes easier to review when the brief, plan, circulation, and exterior are considered together. Use the process as a set of questions to guide discussion; adapt the answers to each site and household rather than treating one layout as a universal template.